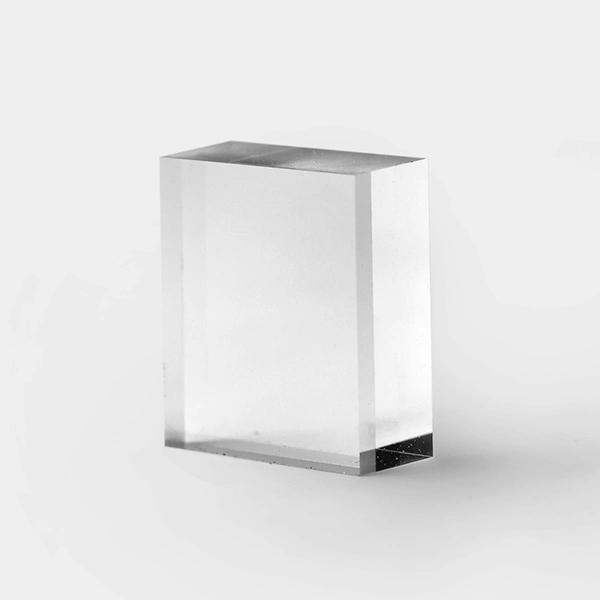
Mechanical Grade
Ultra-Precision Mechanical Diamond Components: Atomic-Level Accuracy for Demanding Applications
Laser-Cut, Crystal-Oriented, and Nanometer-Polished for Uncompromising Performance
Core Value Proposition
We deliver single-crystal diamond components with sub-micron tolerances, crystal-orientation control, and <5 nm surface roughness – engineered to outperform in cutting tools, nano-indentation, and high-pressure research.
Technical Specifications
| Parameter | Your Capability | Industry Standard |
| Face Orientation | 100, 110 (4P/2P) + custom miscut | Random orientation |
| Orientation Accuracy | < ±2° (achievable on request) | ±5° |
| Surface Polish (Ra) | < 5 nm (both faces) | 20–50 nm |
| Thickness Tolerance | ±0.05 mm | ±0.1 mm |
| L/W Tolerance | ±0.1 mm | ±0.25 mm |
| Edge Quality | Laser-cut, near-zero chipping | Mechanically cleaved |
| Size Range | 1×1×1 mm → 30×30×12 mm | Limited to 10×10×5 mm |
Product Grades & Applications
4P (100) Face Diamond
- Ultra-precision turning tools (non-ferrous metals)
- Knoop/Vickers indenter tips
- Optical grating masters Advantage: Optimal balance of hardness and cleavage resistance
2P (110) Face Diamond
- Single-crystal diamond anvils (DACs)
- Wire-drawing dies
- High-wear microfluidic nozzles Advantage: Maximum wear resistance along hard directions

- 4P and 2P Face. (Customized Face Orientation: 110, 100, 111)
- Laser Cut Edges
- Orientation Miscut: Less than +/- 3 °
- Thickness tolerance: +/- 0.05mm
- L/W Tolerance: +/- 0.1 mm
- Top and bottom Face Polished < 5 nm RA
- Min : 1 mm x 1 mm x 0.3 mm | Max : 30 mm x 30 mm x 12 mm
Are you interested in Mechanical Grade?
Critical Applications
Nano-Fabrication & Metrology
AFM tips with <5 nm tip radius
- Master molds for Blu-ray lens arrays
- ISO 17025-certified reference indenters”
High-Pressure Research (Diamond Anvil Cells)
30×30×12 mm anvils with <±2° orientation control
- Laser-cut culet edges for gasket sealing integrity
- Parallelism < 0.1 μm across 500 μm surface
Precision Cutting Tools
Radius inserts for Cu/Al machining: 50 nm edge sharpness
- PCB micro-drills with 10× lifespan vs. PCD
- Infrared domes with optical polish on mechanical parts
Why Specifications Matter
Crystal Orientation Control
<±3° miscut accuracy ensures:
- Predictable wear patterns in cutting tools
- Uniform stress distribution in DAC anvils
- Consistent hardness in nano-indenters
Nanometer Surface Finish
<5 nm Ra enables:
- Mirror finishes without post-processing
- Reduced friction in micro-fluidics
- Accurate force measurements in tribology
Laser-Cut Edges
Near-theoretical strength at edges
- No micro-chipping in brittle materials processing
- 100% dimensional inspection pre-shipment

Capability Comparison
| Feature | Your Mechanical Grade | Standard Industrial Diamond |
| Orientation Customization | 100/110 + custom miscut | Random only |
| Thickness Control | ±0.05 mm | ±0.2 mm |
| Max. Thickness | 12 mm | 5 mm |
| Edge Defect Depth | < 200 nm | 2–5 μm |
| Crystallographic Certification | XRD report included | N/A |
Technical Validation
Every component includes:
- 3D interferometric surface map (flatness/roughness)
- XRD crystal orientation report
- SEM edge integrity analysis
- CMM dimensional verification
Frequently Asked Questions (FAQs)
Why is diamond used for precision tools and scientific instruments?
Diamond is the hardest known material, resists wear, and can be polished to <5 nm smoothness, making it perfect for ultra-precise cutting, nano-indentation, and high-pressure experiments.
How accurate are your diamond components?
We guarantee:
±0.05 mm thickness tolerance
<5 nm surface roughness (like a mirror)
Laser-cut edges with near-zero chipping
Crystal orientation control within ±2°
What sizes and shapes can you make?
We produce diamond parts from 1×1×1 mm up to 30×30×12 mm, including:
Cutting tools
Nano-indenter tips
Diamond anvil cells (for high-pressure research)
Custom shapes upon request
How does crystal orientation affect performance?
(100) orientation – Best for balanced hardness and durability (e.g., cutting tools).
(110) orientation – Extra wear-resistant for extreme conditions (e.g., wire-drawing dies).